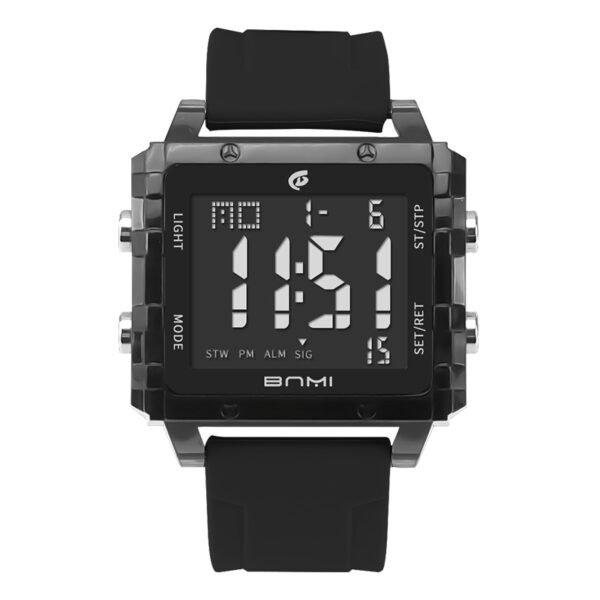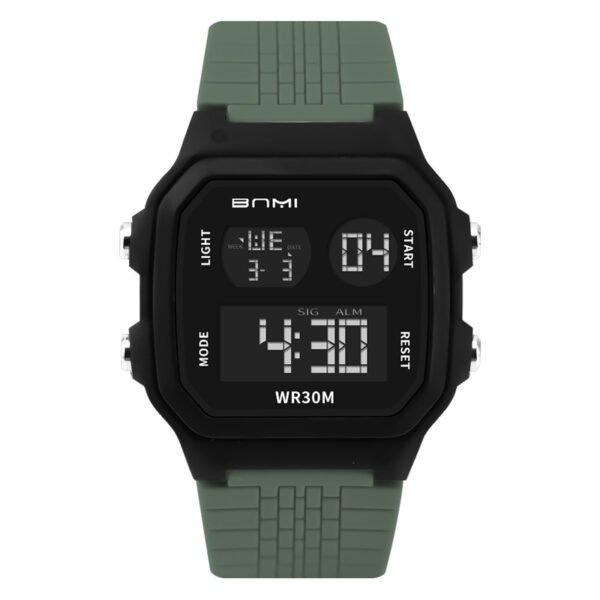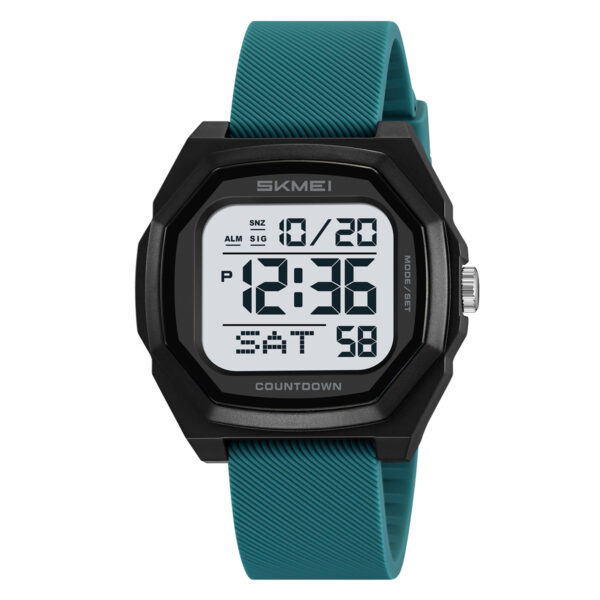
Configuring a multi-function digital timepiece can be challenging without proper guidance. This comprehensive guide provides the exact SKMEI 1299 setup instructions derived directly from the physical device operation, ensuring you can program your watch display successfully.
Step-by-Step SKMEI 1299 Configuration Protocol
1. Verify Timekeeping Interface
The programming sequence must originate from the main timekeeping interface. This screen simultaneously displays the hour, minute, seconds, month, date, and day of the week. If your device shows the Alarm mode, Stopwatch mode, or Dual Time mode, press the left side down button sequentially until the standard time display returns.
2. Activate Programming Mode
Locate the right side down button on the case profile. Press and hold this button continuously for several seconds until the seconds digits begin flashing on the digital screen.
3. Reset the Seconds Value
While the seconds display flashes, press the right side top button one time. This action forces the running seconds value back to zero.
4. Set the Digital Hour
Press the left side down button once to shift the flashing cursor to the hour column. Advance the hours by pressing the right side top button. Observe the indicator status: an active “P” text segment reveals P.M. orientation, whereas a blank zone signals an A.M. schedule.
5. Set the Digital Minute
Press the left side down button once to switch the flashing cursor to the minute column. Press the right side top button sequentially until the correct minute value is reached.
6. Set the Calendar Year
Press the left side down button to advance the selection matrix to the year display. Press the right side top button to adjust the numeric value to match the current calendar year.
7. Set the Calendar Month
Press the left side down button to move the flashing indicator to the month display field. Press the right side top button to scroll through the digits until the correct month is shown.
8. Set the Calendar Day
Press the left side down button one final time to shift the flashing cursor to the day of the week tracking field. Press the right side top button to advance through the weekday indicators until accurate.
9. Exit and Lock Settings
Conclude the programming configuration by pressing the right side down button. The flashing digits will become solid, locking the new temporal data into the watch memory.
10. Change Hour Format Display
While operating inside the regular timekeeping interface, press the right side top button to change the screen format from a standard 12-hour cyclical view to a 24-hour military tracking view instantly. Pressing this button again reverts the format back to the 12-hour view.
Watch In Video
Setup Precautions
- A.M./P.M. Calibration: Ensure the hour digits are matched with the correct A.M. or P.M. (“P”) indicator during setup, otherwise the digital calendar values will shift prematurely at midday instead of midnight.
- Saving Protocol: Failure to click the final right side down button will result in the watch discarding all adjusted calendar parameters when the programming sequence times out.
About ITSKMEI
ITSKMEI is an authorized distributor specializing in authentic SKMEI digital watches. We supply genuine, high-performance wristwatches direct from production channels, providing accurate documentation, wholesale access, and reliable hardware support for corporate buyers and retail distribution networks worldwide.
Conclusion
To secure stock for the classic SKMEI 1299 watch or to obtain complete commercial pricing parameters for global distribution, please submit an official inquiry to our sales division today.